
Tutorials/DIY
You Can Create Your Own Apple Cider Vinegar
Grab a bargain bag of organic apples from the store and whip up some vinegar using those apple scraps you usually toss away.
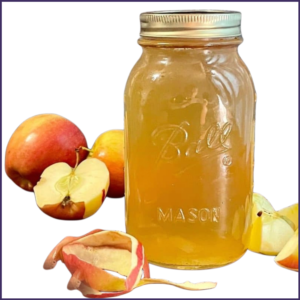
Every time you munch on apples, just toss the leftover peels and cores into a food-safe container and pop it in your freezer. Once you’ve accumulated enough scraps to make vinegar (about the remnants of 6 apples), let them thaw on your kitchen counter. Then, toss them into a jar filled with sugar water. Store the jar in a warm, dark pantry for a few weeks to kickstart the fermentation process and transform those apples into vinegar.
You’ll know your vinegar is ready when you spot a dark, cloudy foam forming in the jar. This is known as “the mother,” and it’s what makes raw vinegar so beneficial for your health.
Ready to sip on some apple cider vinegar? You can enjoy it straight up or dilute a tablespoon in water for the ultimate health boost.
DIY Apple Cider Vinegar Recipe
—3 whole organic apples or scraps from about 6 apples
—2 tablespoons sugar (raw or white works just fine)
—Filtered water to cover – I used about 3 cups, but you might need more or less depending on your jar size
—Large glass jar
—Paper towel and a rubber band
—Fermentation stone or cabbage leaves to keep the apples submerged (optional)
INSTRUCTIONS:
Wash and chop your apples into sizable chunks. Toss them into a clean jar.
Mix the sugar with 1 cup of water and pour it over the apples. Add more water until the apples are submerged by about an inch.
Depending on how small your apple pieces are, some might float to the top. If they keep floating after 24 hours, use a fermentation stone or large cabbage leaves to weigh them down and keep them fully submerged. This will help prevent any mold from crashing the vinegar party.
To keep pesky fruit flies at bay, cover the jar with a paper towel and secure it with a rubber band.
Pop that jar into a cozy pantry for 2 weeks, and don’t forget to play the role of a mold detective by checking in regularly for any unwanted growth. If you spot mold, it’s time to bid farewell to your mix and start the adventure all over again.
Once the time is up, strain out the liquid and say goodbye to those apple pieces. Pour the liquid back into the same jar, cover it up like a secret, and return it to its pantry hideout.
Now, let it ferment for another 4 weeks, giving it a little stir every few days to keep things lively. After 4 weeks, it’s taste test time! When it reaches that perfect acidity that makes your taste buds dance, transfer it to a bottle and let the vinegar festivities begin.
STORAGE:
After crafting your homemade apple cider vinegar masterpiece, storing it correctly is crucial to keep it fresh and fabulous. If you don’t, you might end up with a science experiment gone wrong, complete with harmful bacteria or mold that could ruin your vinegar dreams.
Keep it cool and dark. Your apple cider vinegar deserves a chill spot away from sunlight and heat, which can turn it into a sad, flavorless liquid. A pantry, cupboard, or even the fridge will do just fine.
Opt for airtight glass containers. Plastic is a no-go! The vinegar’s acid can throw a tantrum and react with plastic, leaching nasty chemicals into your precious brew.
Label and date your creation. Just like any homemade concoction, give your apple cider vinegar a name tag with the date and a fun description. This way, you’ll know when it’s time to use it before it turns into a science project.
Toss it after a year. If stored properly, your apple cider vinegar can last anywhere from six months to a year. But beware! Over time, it might start to lose its zing. If you notice any funky changes in color, texture, or smell, it’s time to say goodbye and toss it out.
Your Candle Warming Lamp Can Double As A Mini Simmer Pot
You can toss a medley of herbs into a candle warmer, like rosemary, thyme, and mint, to whip up some delightful aromas. Just mix them with water in a heat-safe bowl on the warmer, and voilà! You’ve got yourself a natural fragrance fiesta.

Why Choose a Candle Warmer Simmer Pot Over Candles?
Let’s face it, burning candles—especially those paraffin wax ones—can turn your cozy home into a soot-filled chamber of doom. Studies have shown that those fancy candles with synthetic fragrance oils might as well be little factories of volatile organic compounds (VOCs), which can wreak havoc on your indoor air quality and send sensitive folks into a sneezing fit or worse, a headache. Enter the Candle Warmer simmer pot, your new best friend! With real ingredients like fruits, herbs, and spices, you’re not just making your home smell delightful—you’re doing it the natural way! No synthetic nonsense. No smoke signals. Just the warm, inviting aroma of your favorite kitchen goodies wafting through the air.
Herbs to Use in a Candle Warmer Simmer Pot
Here are some crowd-pleasers:
Rosemary— Fresh, herbal— Invigorating and uplifting
Thyme— Earthy, slightly minty— Calming and soothing
Mint— Cool, refreshing— Energizing and revitalizing
Lavender— Floral, calming— Reduces stress and promotes relaxation
Sage— Earthy, slightly spicy— Cleansing and purifying
Basil— Sweet, aromatic— Stimulating and uplifting
How to Use Herbs in a Candle Warmer
1. Choose Your Container: Grab a heat-safe bowl or jar that fits snugly on the candle warmer.
2. Add Water: Fill that container about ¾ full with water—don’t drown it!
3. Incorporate Herbs: Toss in your favorite herbs. Fresh or dried, they’re all good!
4. Heat: Set the container on the candle warmer and flip the switch. The gentle heat will unleash the aroma magic.
5. Monitor Water Level: Keep an eye on the water level and top it off as needed to avoid a dry disaster.
**If reusing your herbs, always check for mold first. Discard, clean your bowl, and remake if mold is present.
**Never leave your home with a candle warmer switched on.
Simmer Pot Recipe Ideas
Here are some fun combinations to experiment with:
Cozy Fall Vibes: Apple slices, Cinnamon sticks, Cloves, Orange peel
Fresh & Clean: Lemon slices, Rosemary, Mint leaves
Holiday Cheer: Cranberries, Pine needles or rosemary, Vanilla extract, Star anise
Relaxing Blend: Lavender buds, Chamomile tea bag, a few drops of pure essential oil (optional)
***WARNING*** Some Essential Oils are Toxic to Cats-
Some essential oils can be a real no-no for our feline friends, especially when they’re wafting through the air from diffusers or room sprays. Here’s a list of oils that can turn your kitty into a coughing, wheezing mess:
Common Toxic Essential Oils & Effects on Cats:
Tea Tree— Can cause respiratory distress and poisoning.
Eucalyptus— May lead to coughing and difficulty breathing.
Peppermint— Can irritate the respiratory system.
Citrus Oils— Known to cause respiratory irritation.
Wintergreen— Can lead to severe respiratory issues.
Pine— May cause coughing and labored breathing.
Clove— Can irritate lungs and cause distress.
Ylang Ylang— Known to cause respiratory problems.
Symptoms of Exposure:
If your cat gets a whiff of these essential oils, you might see them displaying some rather dramatic symptoms: Watery nose or eyes, Sneezing fits, Drooling, Vomiting, Difficulty breathing
Precautions:
To keep your cat safe and sound, steer clear of using essential oils in places where they can inhale the fumes. Always consider your fur babies before you start turning your home into a scented paradise!
Creating a Fruit Bowl Gnat Trap
(Short & Sweet)
This method for eliminating fruit flies in your kitchen is quite straightforward. Begin by placing fruit in a bowl, with bananas and their peels being an excellent choice. Overripe peaches can also serve as an effective addition to this trap.
After arranging the fruit in the bowl, drizzle honey, sugar, white wine, or apple cider vinegar over it. You may also opt to use a mixture of these ingredients.
Next, cover the bowl with plastic wrap and use a fork to puncture holes in the top. These openings will permit the gnats to enter the bowl, while the plastic wrap will prevent their escape.
Once the bowl is filled, take it outside and pour warm water into it, adding a few squirts of dish soap as well.
It’s important to perform this step outdoors to avoid releasing any gnats back into your home. When you observe that the gnats have perished, dispose of the contents of the bowl and reset the trap to capture the next batch.
Continue to set the trap until no more gnats are entering the bowl.
How to Grow and Use 25 Top Medicinal Herbs
Nature’s Medicine Cabinet—One Garden Bed at a Time
There’s something incredibly satisfying about walking outside with a pair of scissors instead of car keys when you need ingredients for a soothing cup of tea.
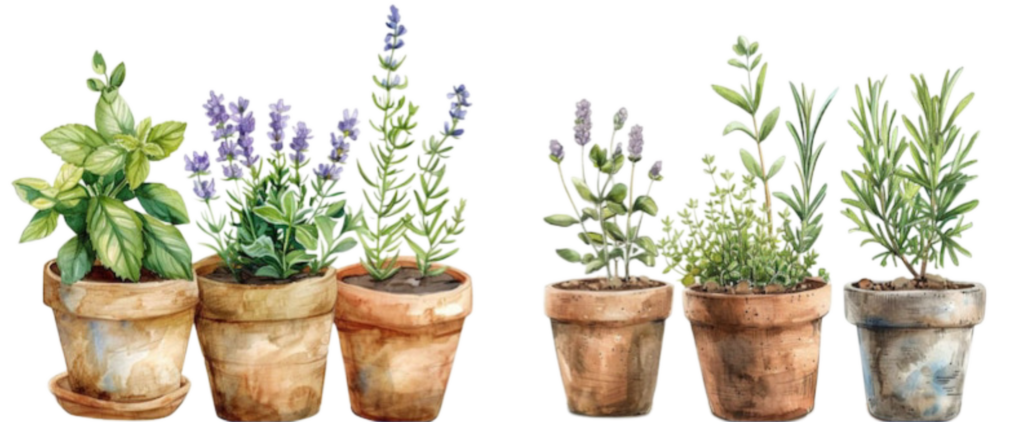
Whether you have several acres or just a sunny patio with a few pots, these medicinal herbs deserve a place in every home herbalist’s collection.
Bonus Herbs Worth Growing
Building Your Backyard Apothecary
A Few Final Words of Wisdom
A Beginner’s Guide to Making Herbal Teas, Tinctures & Extracts at Home
There is something deeply satisfying about turning a handful of fragrant herbs into medicine with your own two hands. For thousands of years—long before pharmacies occupied every street corner—people relied on plants to soothe coughs, calm nerves, ease aching joints, and support the body’s remarkable ability to heal itself.
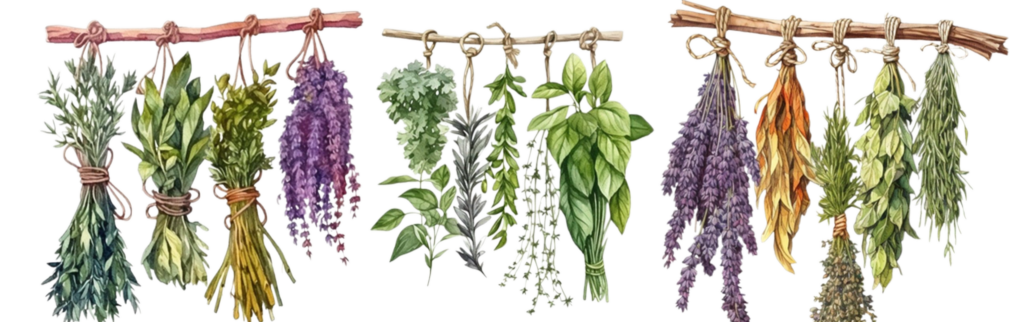
Making your own herbal remedies isn’t complicated. In fact, it’s one of the easiest ways to reconnect with nature while saving money and knowing exactly what goes into your preparations. *Just remember one important rule: herbs are powerful. “Natural” doesn’t automatically mean harmless. Always research each herb carefully, especially if you are pregnant, nursing, taking prescription medications, or have chronic medical conditions.
Now, let’s head into the herbal kitchen!
Choosing Your Herbs
Herbal Tea (Infusion)
Strong Nourishing Infusions
Herbal Decoctions
Herbal Tinctures
Glycerites: Alcohol-Free Extracts
Herbal Vinegars
Oil Infusions
Double and Triple Extracts
Proper Labeling
Storage Tips
Safety First
Bringing Herbal Wisdom Back Home
How To Eliminate Grass And Weeds Permanently Without Using Pesticides
There are numerous methods to eradicate grass and weeds. However, achieving permanent elimination is quite challenging. To ensure the complete destruction of any grass or weed, it is essential to target and eliminate the plant’s roots.
If you aim to clear a substantial area of vegetation, a straightforward approach is to cover the region with cardboard or damp newspaper to suffocate it. By depriving the grass and weeds of light and fresh air, you will effectively kill the plants, making it easier to extract their roots.
Another highly effective technique for killing weeds involves applying salt directly onto the unwanted grass or weeds that emerge between patio bricks or blocks.
A mixture of vinegar and dish soap can also serve as an effective homemade weed killer using these inexpensive ingredients.
INGREDIENTS:
1 quart of vinegar
2 cups of Epsom salt
¼ cup dish detergent
Spray bottle
Vinegar– Opt for the least expensive vinegar available. Check the cleaning section of the grocery store for vinegar intended for cleaning rather than cooking, as it is typically more affordable. Standard distilled white vinegar with 5% acidity is inexpensive and performs well. If you can locate a vinegar with a higher acidity, up to 20%, it will act more quickly, but the final results will remain consistent, so there is no need to worry if it is unavailable.
Salt– Epsom salt is excellent for this homemade weed killer recipe, but regular inexpensive salt is equally effective. Generic iodized or un-iodized salt, also known as sodium chloride, will suffice.
Dishwashing Liquid– A few drops of dishwashing liquid are sufficient, so the specific brand is not crucial. The function of the soap is to reduce the surface tension of the vinegar, allowing it to adhere to the weeds more effectively, thereby enhancing absorption.
DIRECTIONS:
Heat the mixture in a pan on the stove until it becomes hot, but avoid boiling. Incorporate Epsom Salt and whisk until it is fully dissolved. Allow the mixture to cool slightly, ensuring it remains warm yet manageable. Add Dawn Dish Soap to your sprayer and gradually pour in the vinegar mixture.
Choose a hot, dry day to spray the weeds until they are thoroughly saturated; they will begin to wilt and shrivel within hours. Exercise caution to avoid spraying any plants or flowers you wish to preserve.
The vinegar will not damage the soil, and it is safe to replant the area once the weeds have died.
HOW HOMEMADE WEED KILLER WORKS
The vinegar extracts moisture from the plant, leading to its demise. It is advisable to spray during the hottest part of the day and ensure that rain is not forecasted for at least 24-48 hours.
Some weeds may require a second application for complete eradication, but most will be dead and gone within several days.
DO YOU HAVE TO PULL WEEDS AFTER SPRAYING?
Results can be observed within a day or two after spraying. Once the grass and weeds have died, you will need to remove them by hand, which can be challenging, yet it is significantly easier than pulling out live weeds.
How to Create a Lasagna Garden
A lasagna garden is constructed above ground. Instead of filling it with fresh soil as one would do with a raised bed, you layer compostable materials such as newspaper, cardboard, leaves, and grass clippings. Over time, worms and microorganisms break down these materials, transforming them into a rich, nutrient-dense soil of their own.
Creating a lasagna garden is a quick, simple, and enjoyable process. Below are the steps to layer one at your residence.
Scout Your Spot
Identify a flat area that receives a minimum of 6 hours of direct sunlight daily. Ensure it is conveniently located near a water source, allowing a hose to reach it, yet sufficiently distanced from your home to prevent any potential odors from the decomposing materials from entering your open windows.
Gather Your Materials
An ideal lasagna garden consists of a combination of 4 parts high-carbon to 1 part high-nitrogen ingredients. If high school chemistry seems like a distant memory, do not worry—it is simpler than it appears. Here is what you will need:
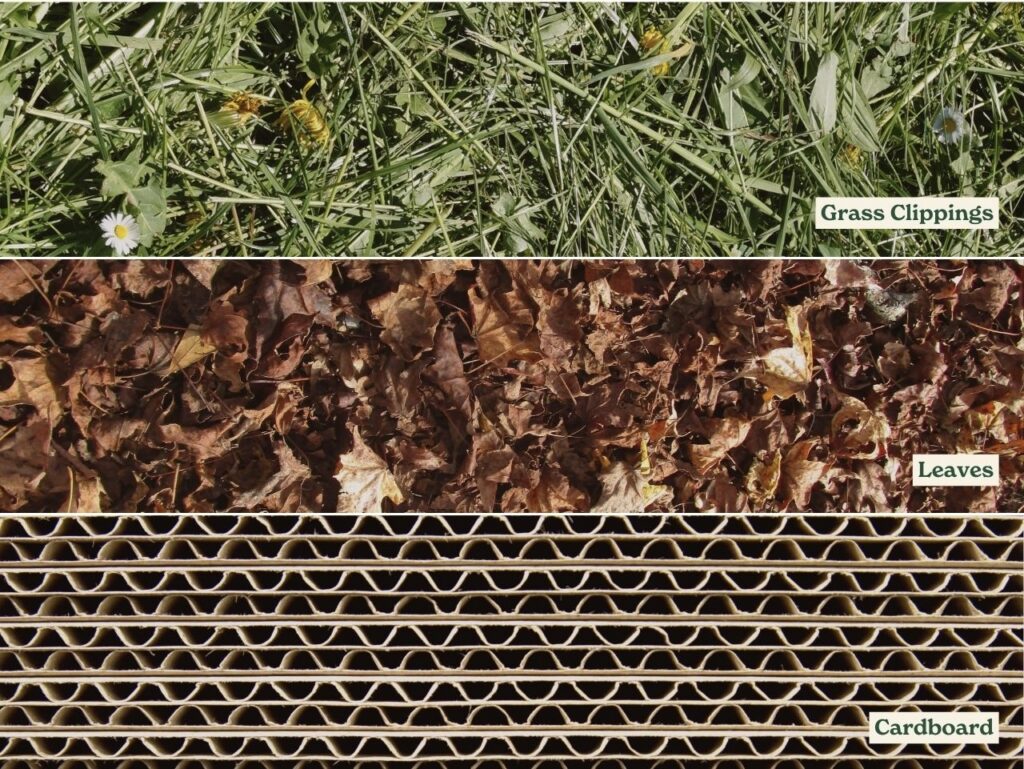
High-carbon materials. Consider these as your brown layers. You may include peat moss, dried leaves, straw, mulch, and sawdust.
High-nitrogen materials. These represent your green layers. Incorporate items such as grass clippings, vegetable scraps (or produce that has seen better days), coffee grounds, and even manure from herbivorous animals.
A base layer. Prior to stacking your ingredients, cover the area with newspaper or cardboard. Aim for a substantial base layer without any gaps, ensuring that the sheets overlap slightly.
If you find yourself lacking materials, you can substitute with a soil formulated for raised beds, such as Miracle Gro Raised Bed Soil, in place of your carbon layer. At this stage, you may also wish to build a frame if you prefer not to keep it loose.
Layer, layer, layer!
Arrange your lasagna layers in the following order:
A base layer of damp newspaper and/or cardboard that completely covers the area. This will assist in smothering any existing grass or weeds.
A high-carbon (brown) layer. Usually dried leaves or straw.
A high-nitrogen (green) layer approximately one-quarter the thickness of the carbon layer.
Repeat this procedure until you achieve your desired height, ideally between 18 to 24 inches tall.
“Cook” Your Lasagna…
If you are establishing your lasagna garden in the fall or do not plan to plant for several months, you can relax and allow Mother Nature to transform your layers into a rich, nutrient-dense soil. To expedite this process, cover it with plastic to retain heat.
…or Plant Immediately
Alternatively, you may scatter seeds on the top lasagna layer or separate the layers to insert starter plants. If you choose to plant immediately, ensure that your layers of compost and any manure are fully decomposed to prevent burning the roots of your plants.
Maintain Your Lasagna Garden in Excellent Condition
As the growing season advances, continue to adhere to the 4:1 ratio while adding compostable materials to the top to ensure a consistent influx of new nutrients into your plot. Remove weeds as they appear and water as necessary. In subsequent growing seasons, add alternating layers to the top as required.
Voila! With just a few essential materials and a bit of time, you have created a rich growing environment for your favorite fruits, vegetables, herbs, and flowers. You can cultivate what you love in your own backyard while utilizing items that might have otherwise been discarded. If that isn’t gardening smarter rather than harder, we are unsure what is!
Bird Seed Wreath DIY
Here’s what you need:
3/4 cup flour
1/2 cup water
1 envelope unflavored gelatin
3 tbsp. corn syrup
4 cups birdseed
*Bundt pan or mold
Nonstick Spray
*If you want to fill your bundt pan, you’ll need to double the ingredients.
You can use a circle of wire in middle of the mold to give it some stability, similar to rebar in concrete.
Spray your Bundt pan/mold liberally with nonstick spray. Mix the gelatin packet with hot water until dissolved. Stir in the flour and corn syrup until mixed with the gelatin, then add your birdseed and combine. Pour or scoop your mixture into your pan or mold, pressing down with the back of a spoon. If you’re using a wire ring in the middle of your mold, add half your mixture, then the wire, then top the wire the seed. Put the mold somewhere coldto firm up. After 24 hours, unmold your seed wreath. You may have allow your pan to warm up a bit first.


Our Beloved Gray Baby 2010~2026

Disclaimer